Providing Application Solutions to Help You Solve Your Floor Problems
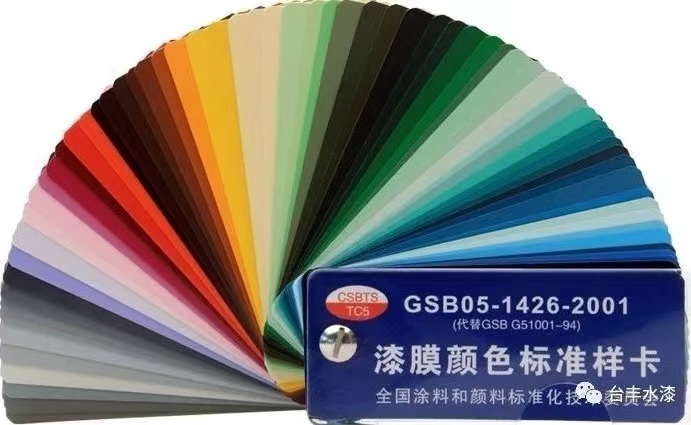
Floor coatings are known for their vibrant, natural, and attractive appearance, as well as their durability, water resistance, and corrosion resistance. As a result, they are widely used for flooring in many public spaces. However, issues often arise during application. You might be hesitant to tackle them yourself for fear of doing a poor job, yet leaving them unaddressed could compromise the aesthetic appeal—truly a catch-22.
Today, we’re sharing common floor coating issues and how to address them. Be sure to bookmark this page and check it out!
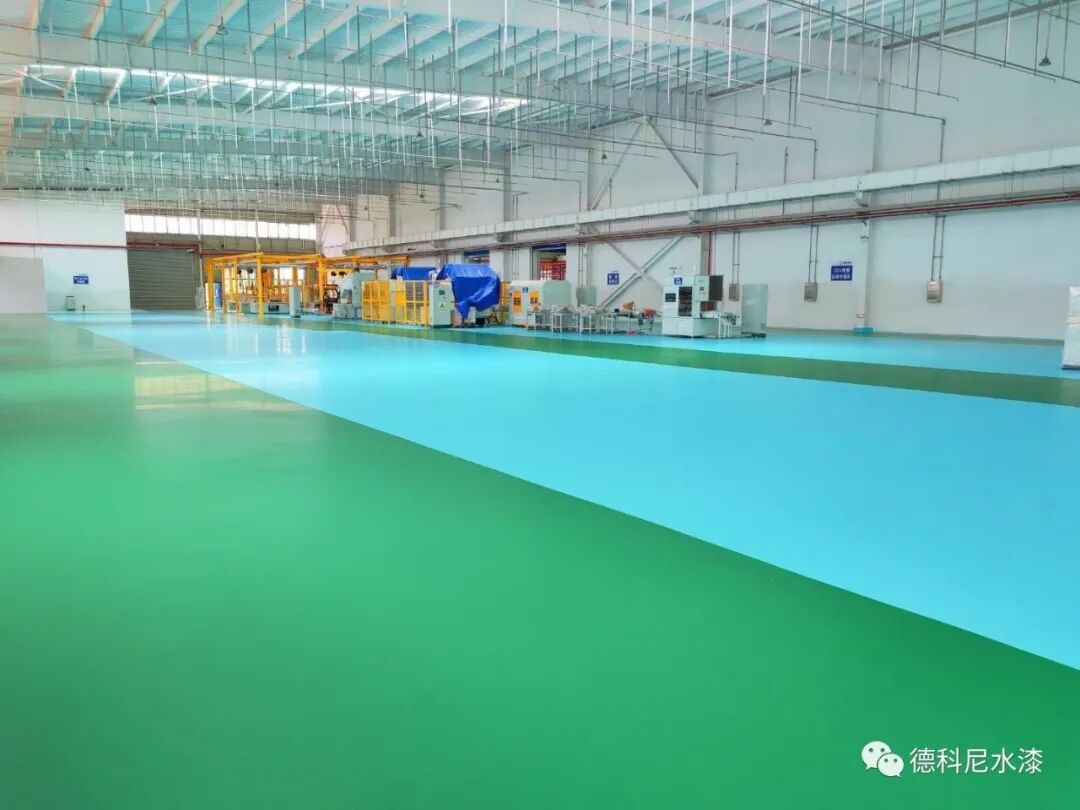
1. Color Bleeding in Floor Coatings Color bleeding refers to the phenomenon where, when a different-colored coating is applied over an existing coating, the underlying layer seeps into the topcoat, causing the topcoat to change color.
The main causes of color bleeding are: 1) the primer is not dry; 2) a color difference between the primer and topcoat; 3) failure to apply a primer or the presence of colored substances in the substrate.
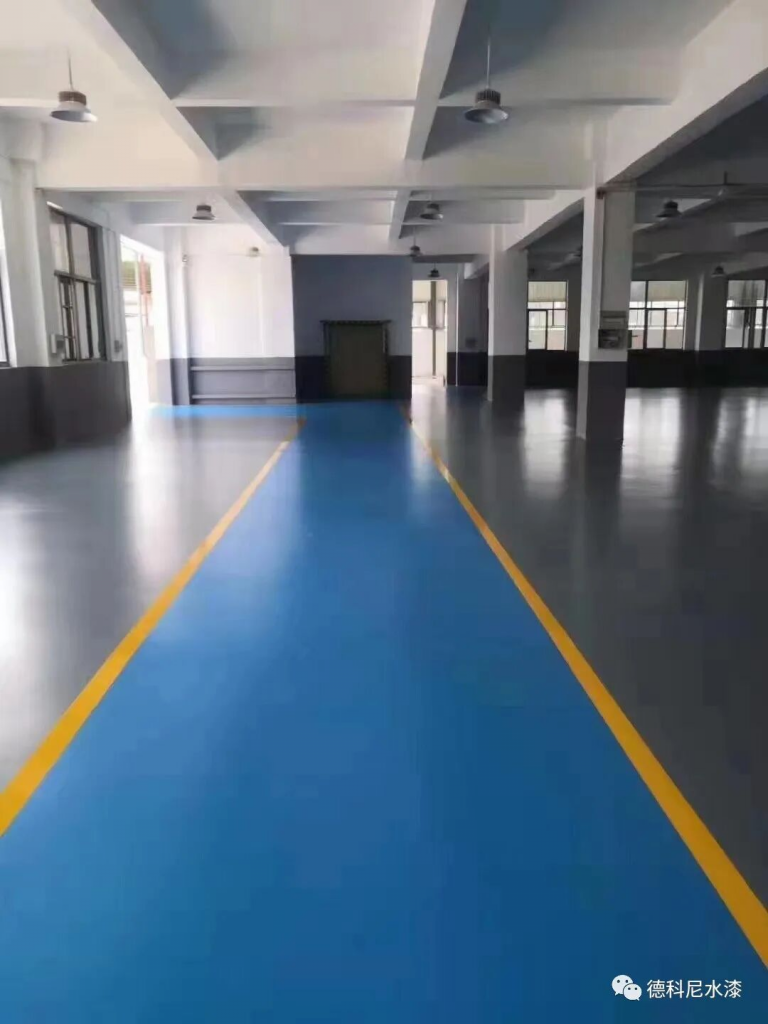
2. Contaminants Stuck to the Paint Surface It’s common for freshly painted surfaces to attract small insects like bugs or mosquitoes. In this case, remove them as soon as possible—since the paint isn’t dry yet, touch-ups are easy. Simply dip a brush in a bit of paint and gently wipe the area to restore it.
If the paint is nearly dry, you’ll need to wait until the paint film has fully hardened before wiping away the insects. This prevents ruining the smooth surface.
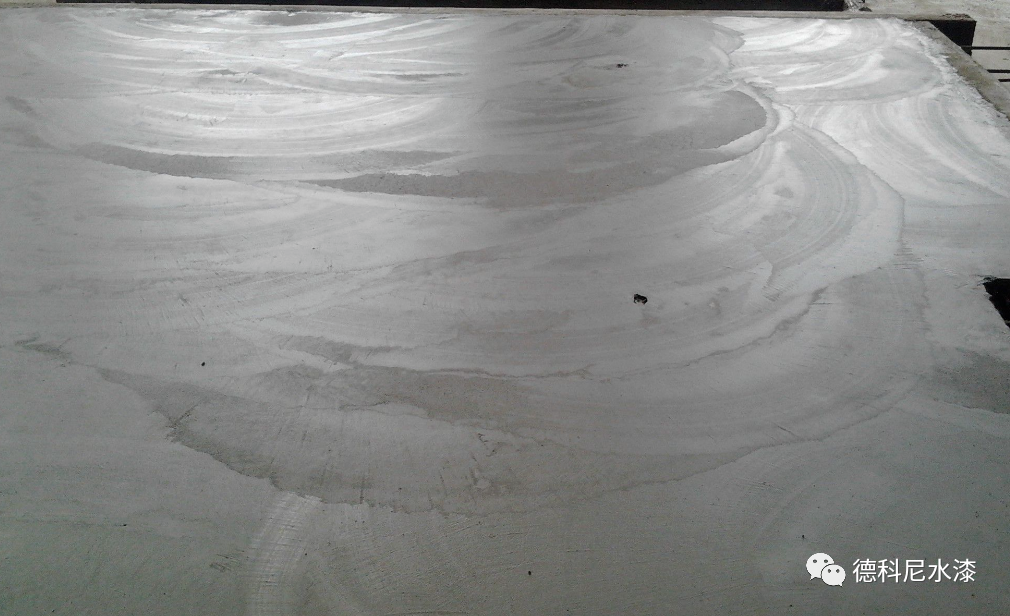
3. Paint Blistering
First, use a sharp object to puncture the bubble. If water oozes out, it indicates that moisture has seeped beneath or behind the paint layer; when exposed to sunlight, the moisture evaporates into steam, causing the paint film to bulge into a bubble.
In this case, first use a heat gun to remove the bubbled paint, allow the wood to dry naturally, then apply a primer, and finally repaint the entire repaired area. If there is no water in the bubble, it is likely caused by a crack in the wood grain containing a small amount of air; when exposed to sunlight, the air expands, causing the paint film to bulge.
In this case, first scrape off the bubbled paint, then fill the crack with resin filler and repaint, or—without using filler—apply microporous paint directly after scraping off the paint.
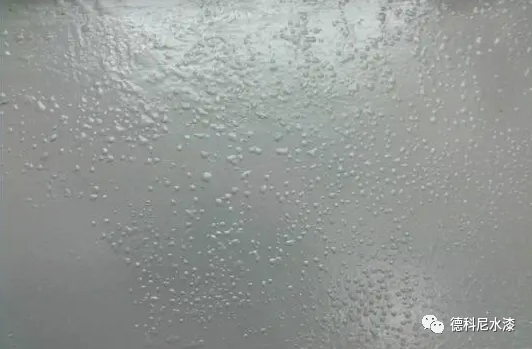
4. Paint Surface Wrinkling and Fish Eyes
Wrinkling occurs during the drying process of the paint film when differences in drying rates between the inner and outer layers cause the outer layer to contract rapidly upward, resulting in wrinkles, unevenness, or irregular lines on the surface of the paint film.
Fish eyes occur after paint application when foreign particles on the substrate’s surface or mixed into the paint prevent uniform adhesion, causing the paint to shrink and expose the substrate. This phenomenon is caused by the rapid evaporation of solvents after application, leaving the paint film insufficient time to replenish itself, resulting in numerous small circular rings or needle-like pores resembling leather pores.
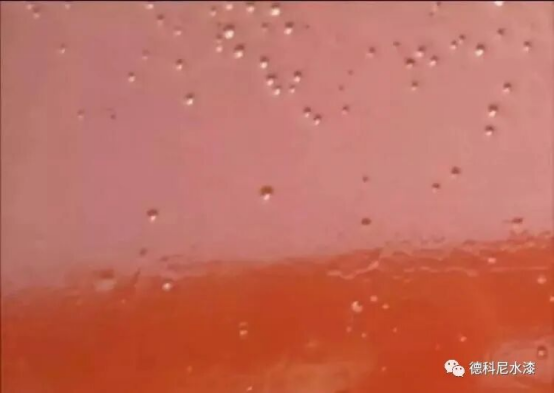
5. Painted Surface Lacks Gloss
Failing to apply a primer, or applying a gloss topcoat before the primer or intermediate coat has dried, can result in a lack of gloss. Additionally, poor-quality gloss paint can also be a contributing factor.
The solution is to sand off the old paint using wet/dry sandpaper, brush away the sanding dust, wipe the surface clean with a damp cloth, and allow it to dry completely before reapplying the topcoat. It is also important to note that painting in very cold or humid conditions may cause the paint film to lose its gloss after drying.
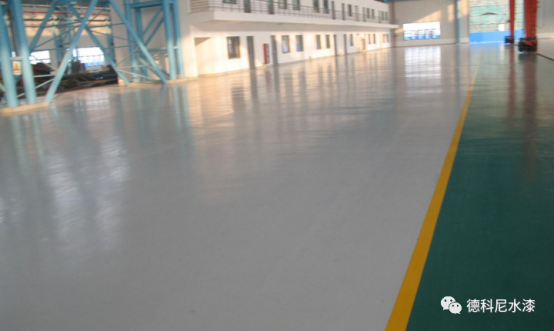
6. Cracks in the Paint Finish
This is also a relatively common issue and is fairly easy to address. If the cracked area of the floor coating is extensive, we typically use a chemical paint stripper or a heat gun to remove the affected area before repainting.If the cracked area is not very large, use a sanding block or wet/dry sandpaper dampened with a little water to sand away the cracked paint. Gradually sand the surface smooth, then apply putty, followed by a primer, and finally repaint.
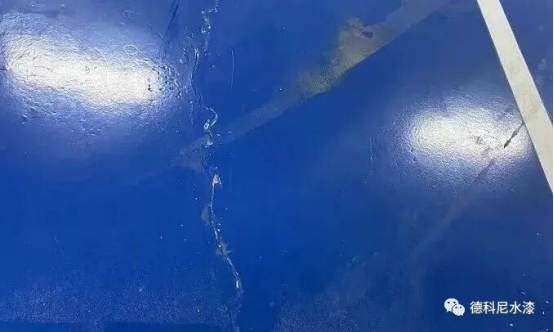
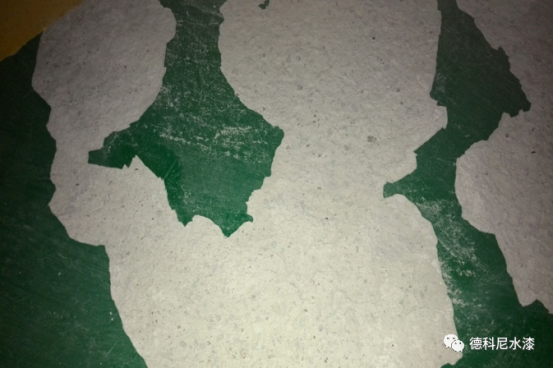
7. Peeling on walls
Is mostly caused by insufficient adhesion to the substrate, which may be due to the surface being too smooth. If the original coating was a glossy paint or a powdery paint (made with untreated pigment paste), the new paint will not adhere firmly to the surface.
Alternatively, it could be due to rotted wood or rust spots on metal, or peeling caused by poor paint quality. For small areas of peeling paint, first sand the area with fine-grit sandpaper, then apply putty, a coat of primer, and repaint. For large areas of peeling, the paint must be completely scraped off and the surface repainted.
8. Rough Paint Surface
If the surface of the floor coating is rough after application, it is usually caused by a dirty paintbrush that allowed the paint to become contaminated by the surrounding environment. It could also be due to paint skin mixed into the paint, failure to let the paint settle and filter it before use, or dust settling on the paint while it was still wet. To prevent these issues, be sure to use clean paintbrushes and paint buckets.
If the paint surface is rough, allow it to dry completely, then sand it smooth with wet/dry sandpaper, wipe it clean, and repaint. Pay special attention to ensuring the paintbrush is clean.
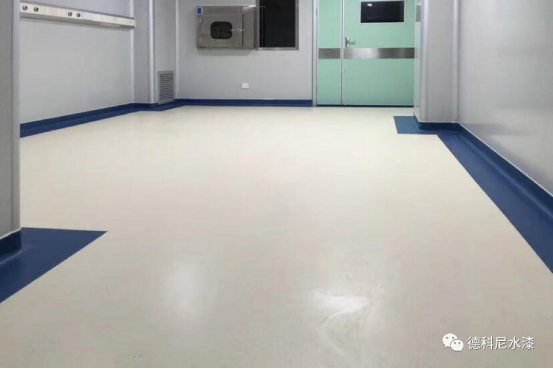
9. The Wall Surface Takes a Long Time to Dry
If the paint isn’t drying—and assuming the wrong hardener wasn’t used—the issue is likely related to indoor ventilation or temperature. Poor ventilation or low temperatures will cause the paint to dry more slowly. Therefore, you should open some windows and doors to improve ventilation, or you can place a heater indoors to raise the temperature.
If this still doesn’t solve the problem, the surface you’re painting may be too greasy. In this case, use the chemical paint remover mentioned above or the heating method to remove the paint, thoroughly clean the surface, and then repaint.
Leave a Reply